Chat Layout Overview
The Chat Interface is where you interact with AI models, manage prompts, compare results across models, upload files, and organize or share conversations.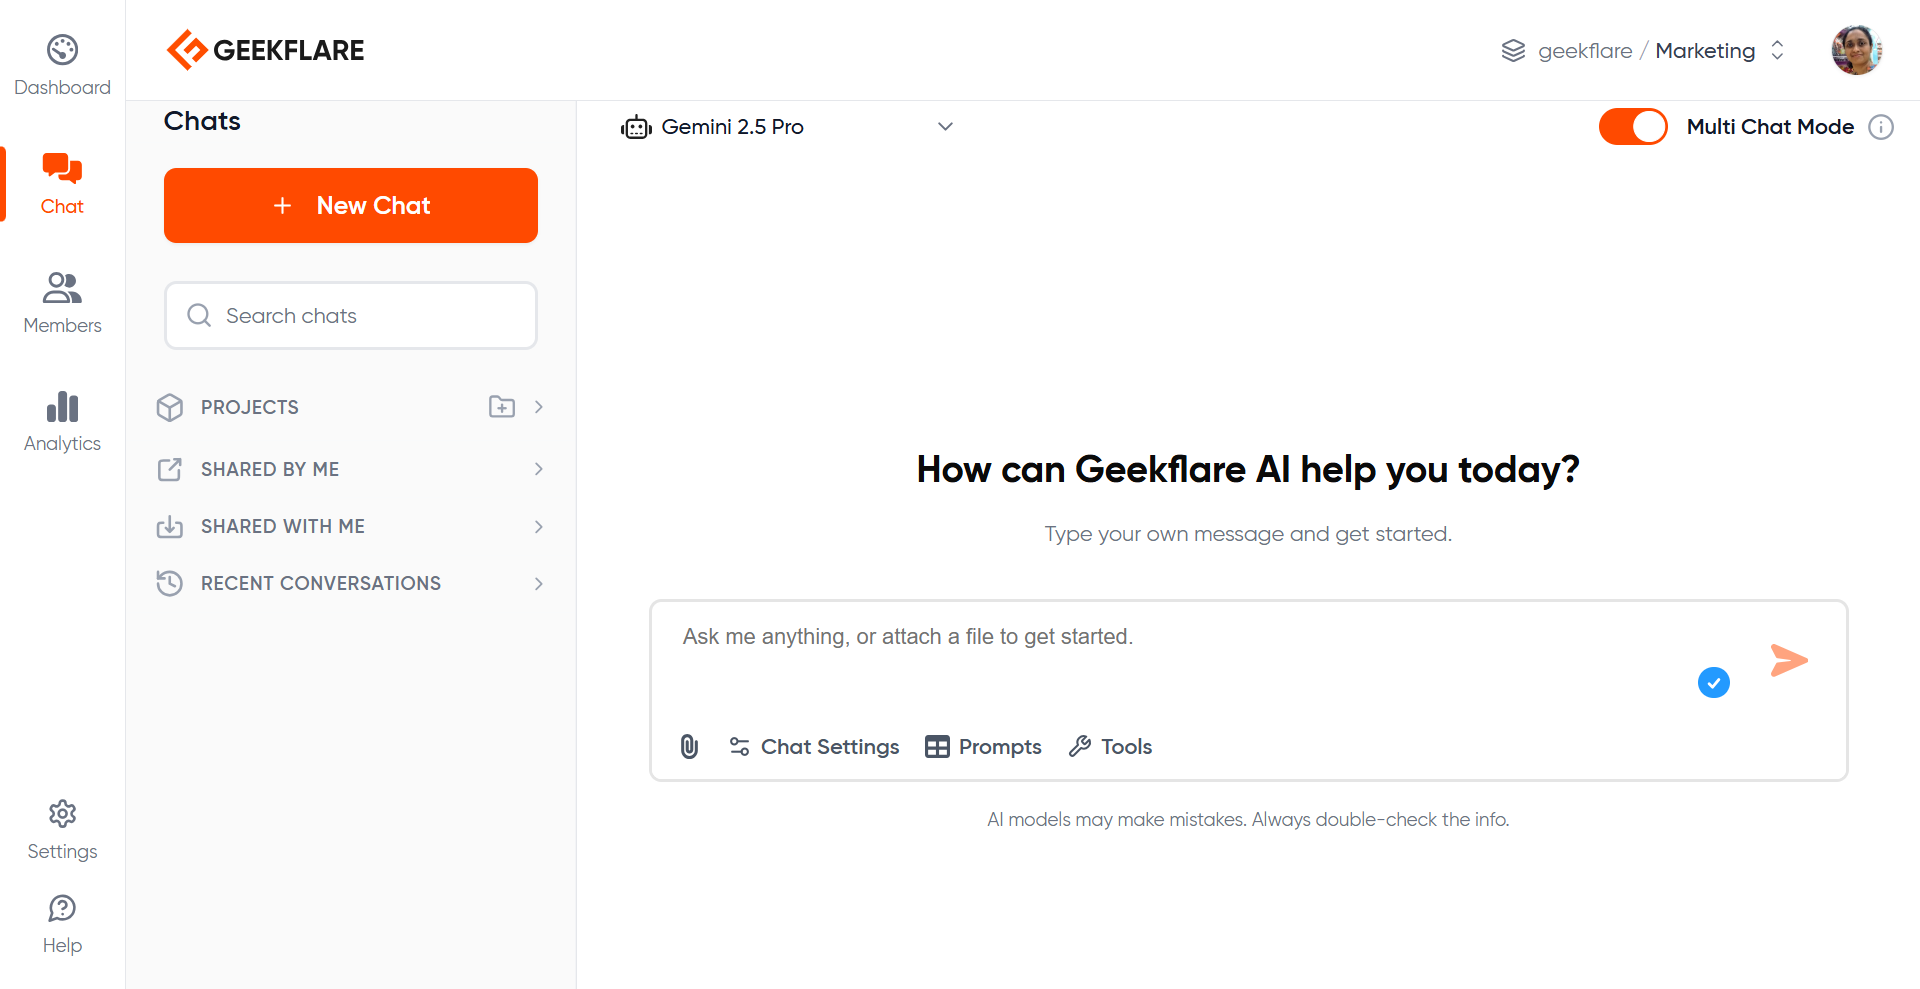
Model Selector
Choose the AI model you want to interact with. You can switch model at any time without losing context.
Chat Input Box
Type prompts, upload files, and send instructions from the input area at the bottom of the screen.
Attachments
Upload PDF or image files (up to 50MB). Uploaded files appear inside your chat history and count as part of the conversation.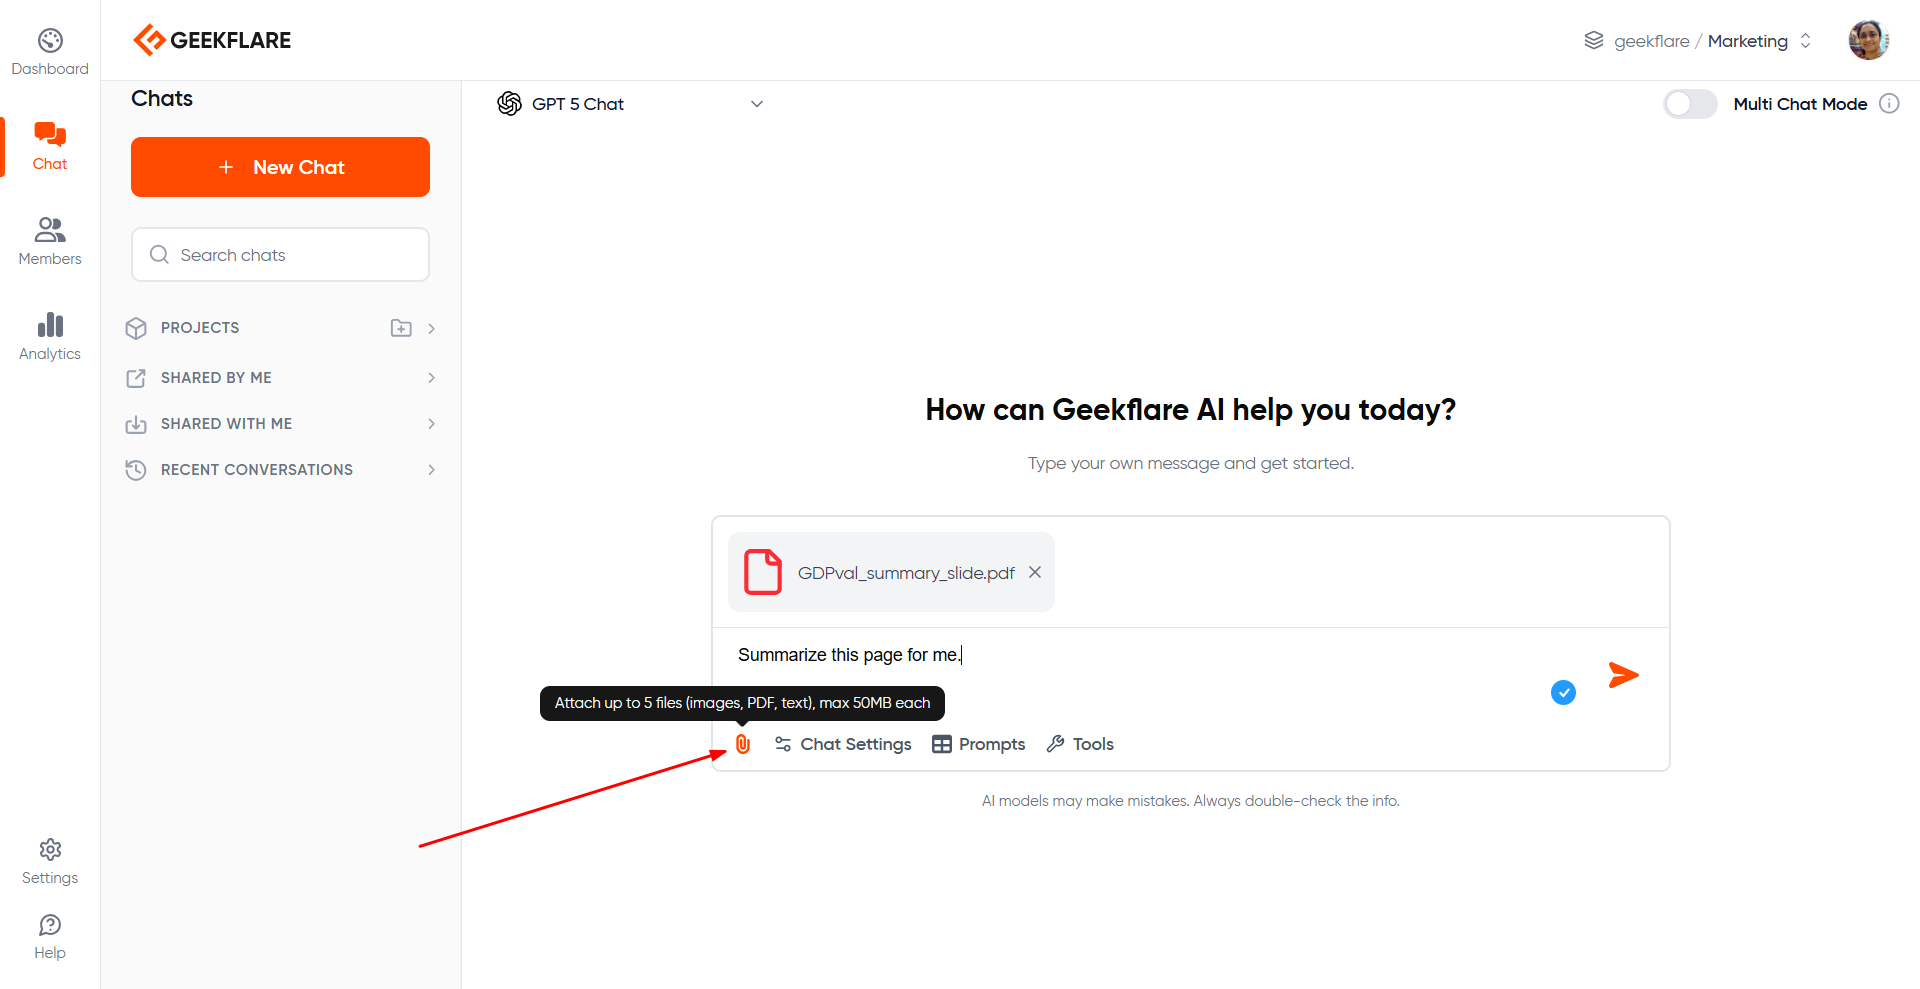
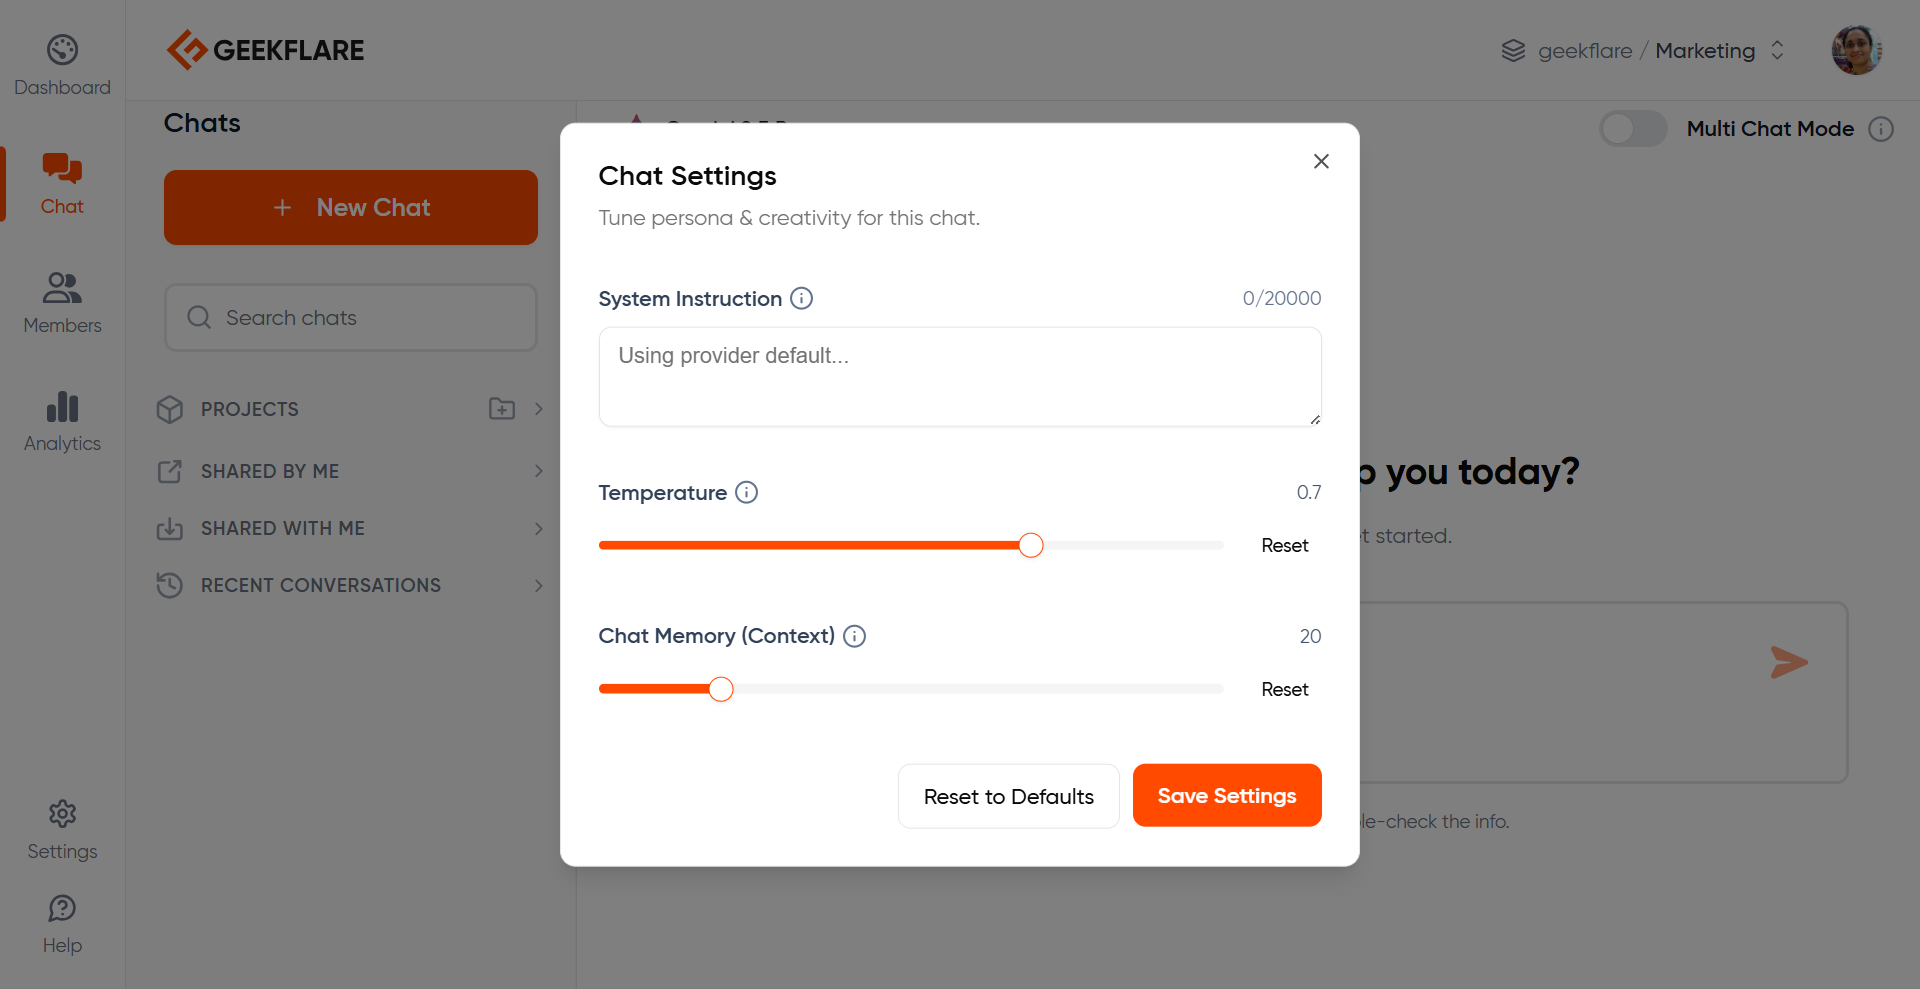
Chat Settings
Located at the bottom of the message input box.
- Model parameters like temperature (higher temperature means more creative)
- Context window size (memory retention)
- System instructions for the current chat (anything specific you wish the LLM to remember)
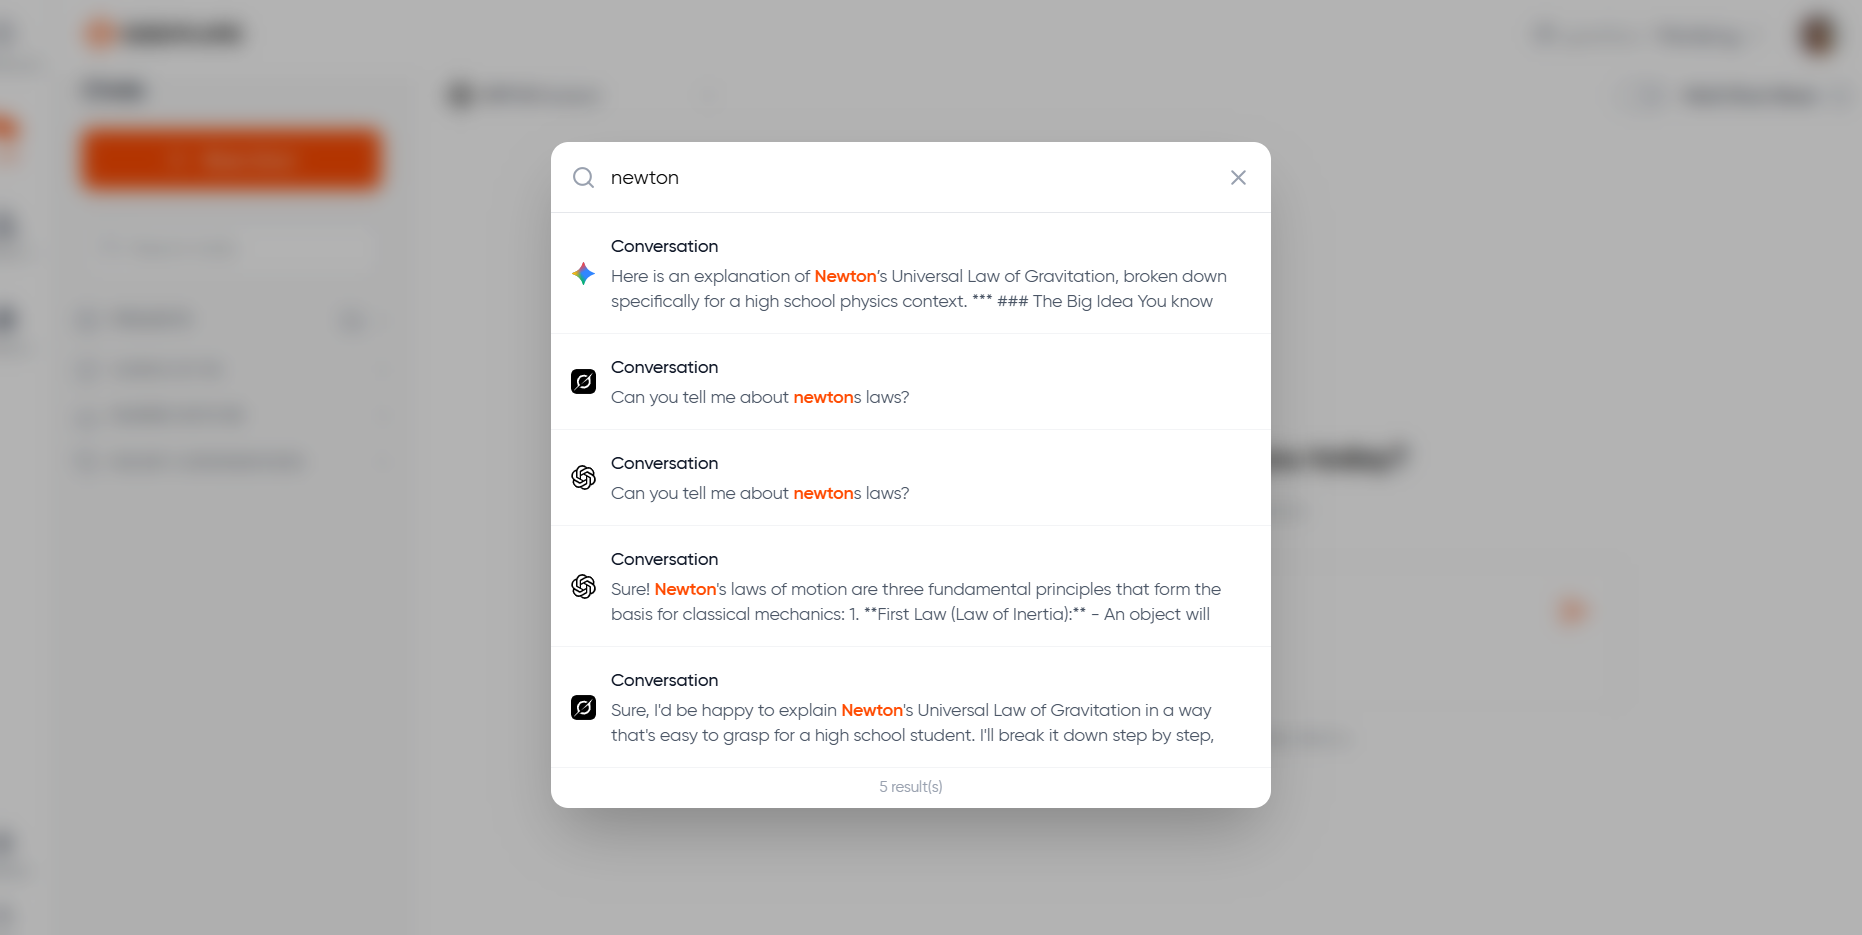
Chat Search
The Chat Search feature allows you to locate any conversation within your current workspace or project. It saves time when you have a large number of chat threads and need to jump back to a specific discussion. The search bar appears at the top of the chat sidebar, labeled “Search chats”.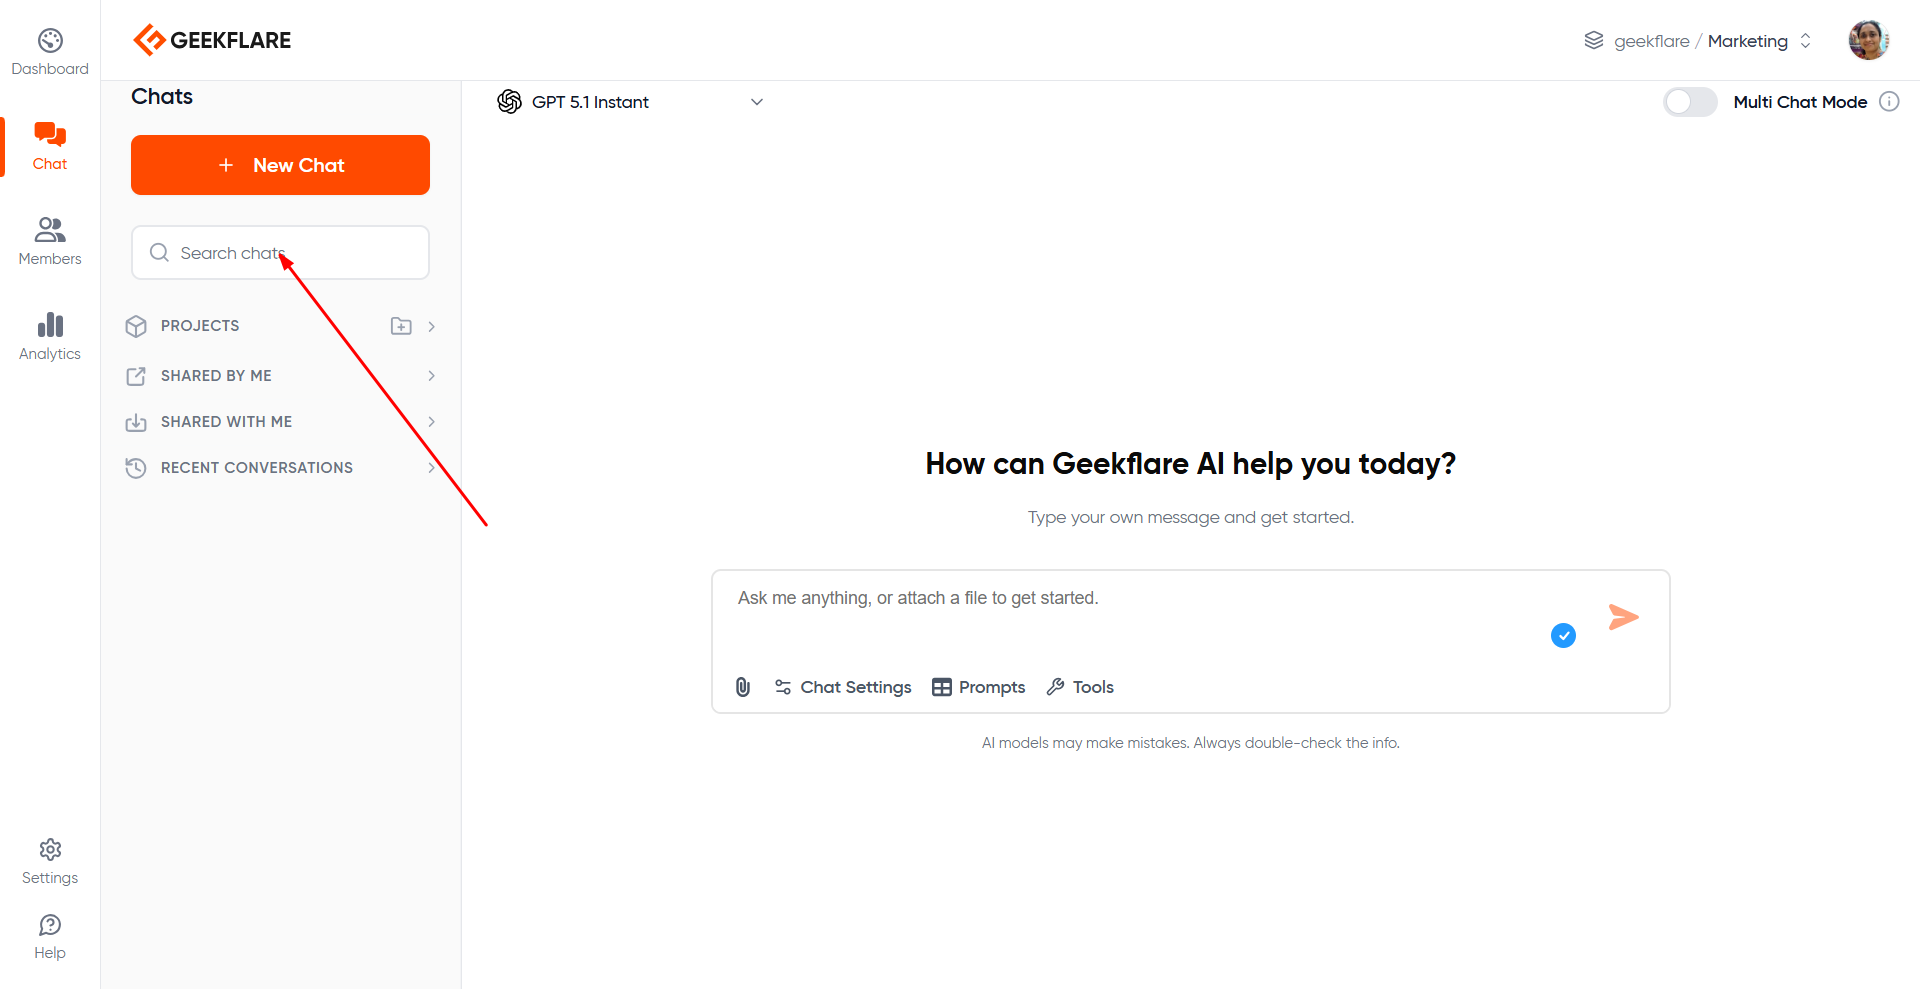
- Start typing a keyword in the Search chats bar.
- Results appear instantly and filter down the visible chat list.
- Search matches against chat titles and keywords within each conversation thread.
Chat History
The chat history in the left sidebar shows all chats in the current workspace or project. You can rename, move to project, delete, or share conversation threads from here.
Projects
Allows you organize related chats into projects, have its own specific instruction - like a context based on client, campaign etc. Read more about Projects.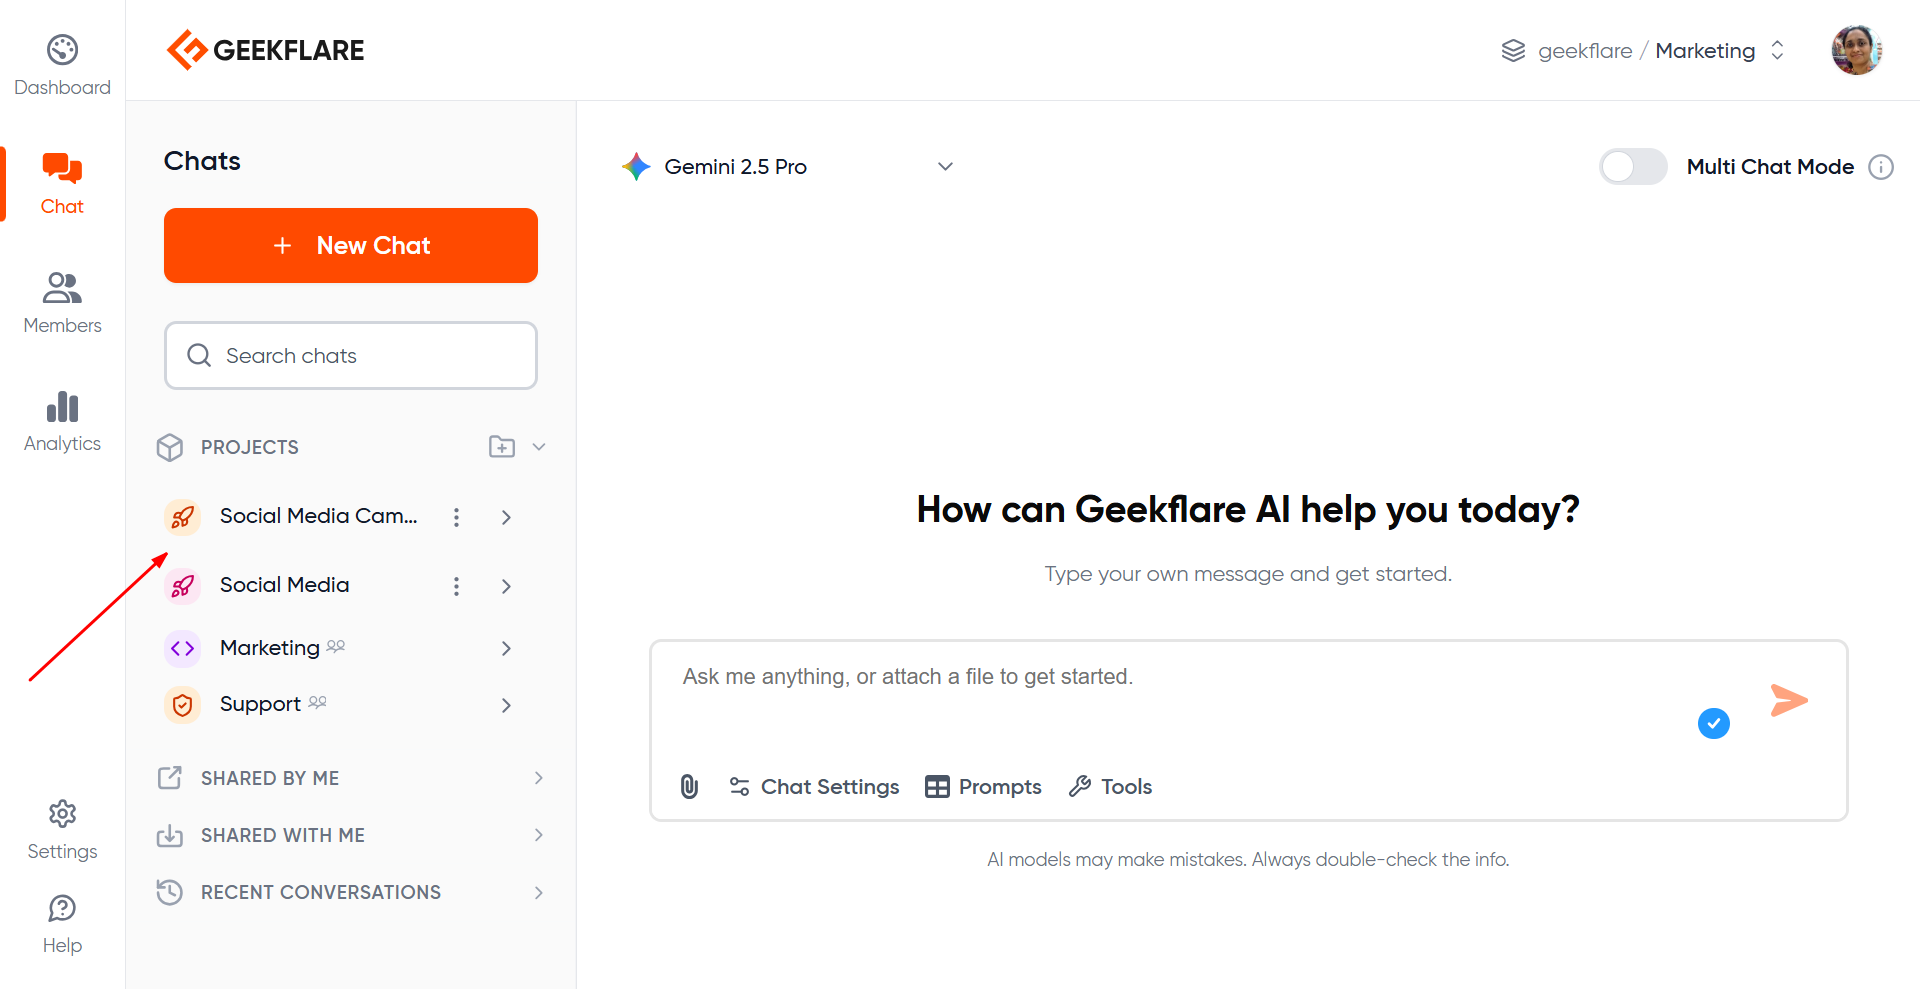
Workspace Indicator
Visible on the top right; shows your current organization and workspace and lets you switch between them.
Stop Button
During response generation, a Stop button appears in the prompt box.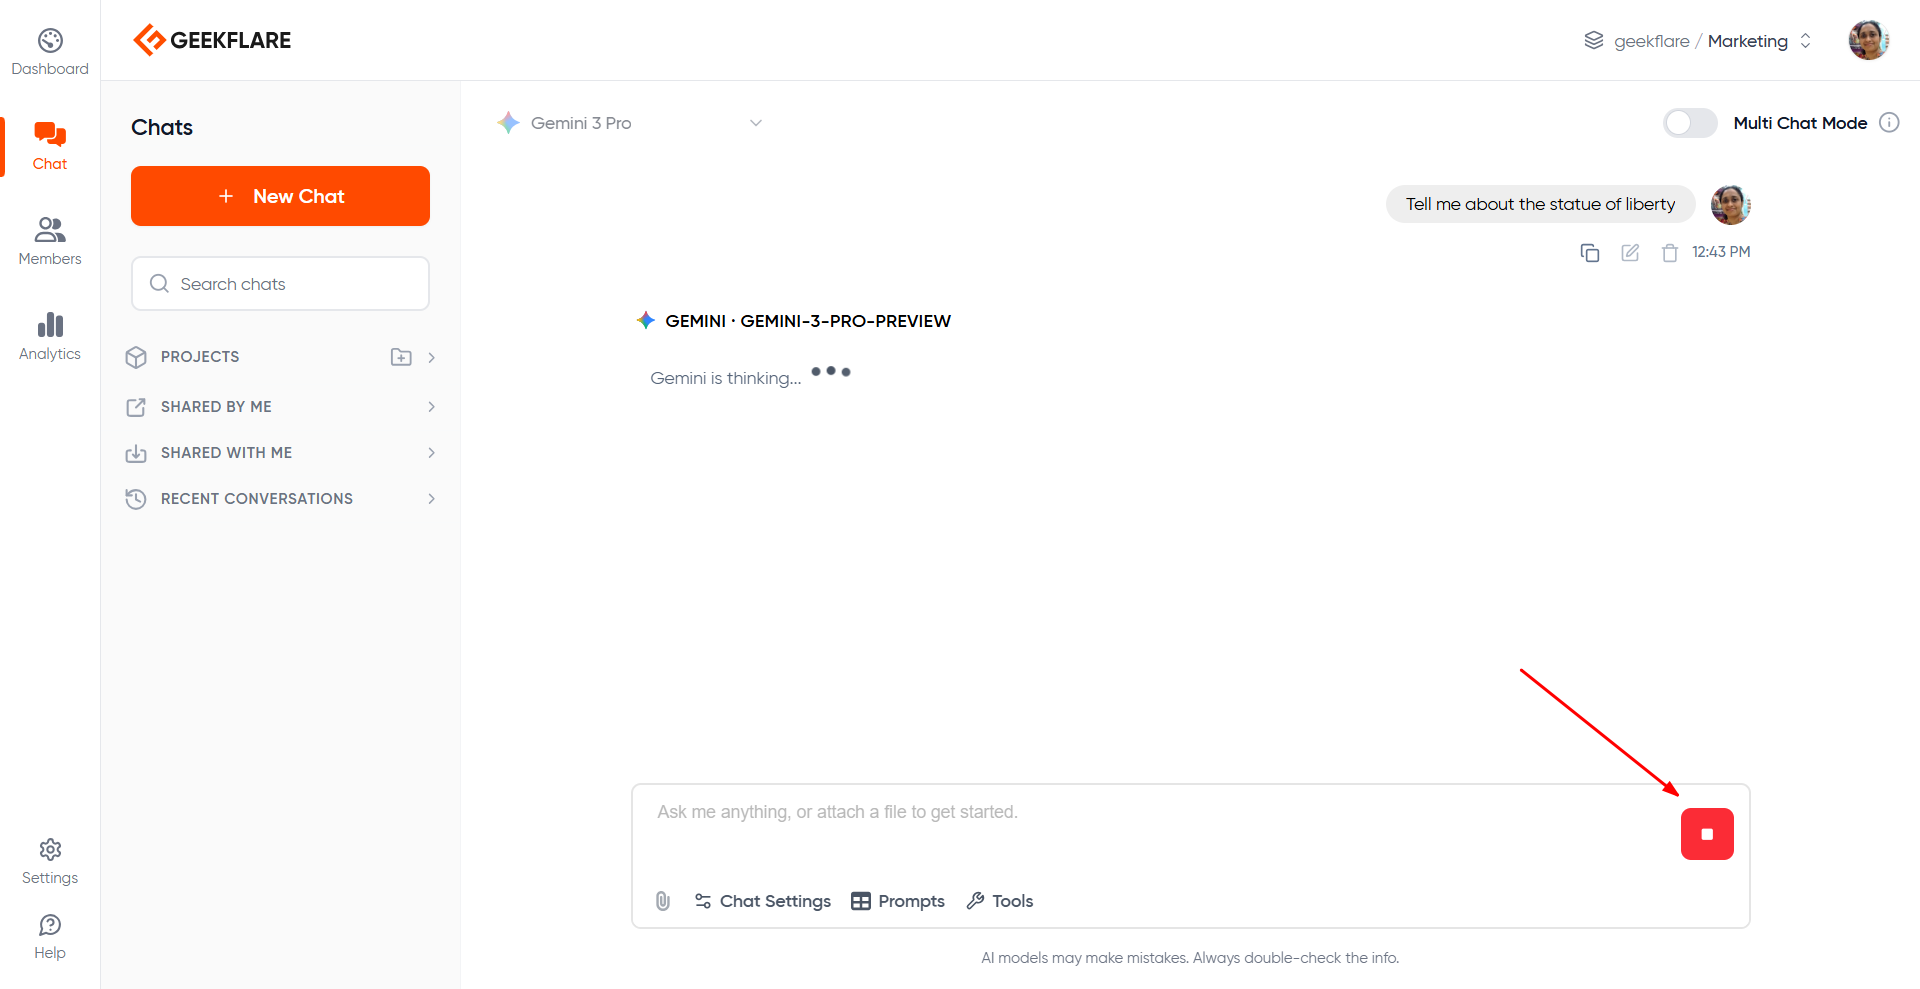
- The model starts going off-track
- You want to refine or correct the prompt
- You only needed a partial answer
Switching Models During Chat
You can change the model at any point in the same conversation thread without starting a new thread. Switching models:- Does not reset context
- Continues the same conversation with all previous messages included
Multi-Model Chat
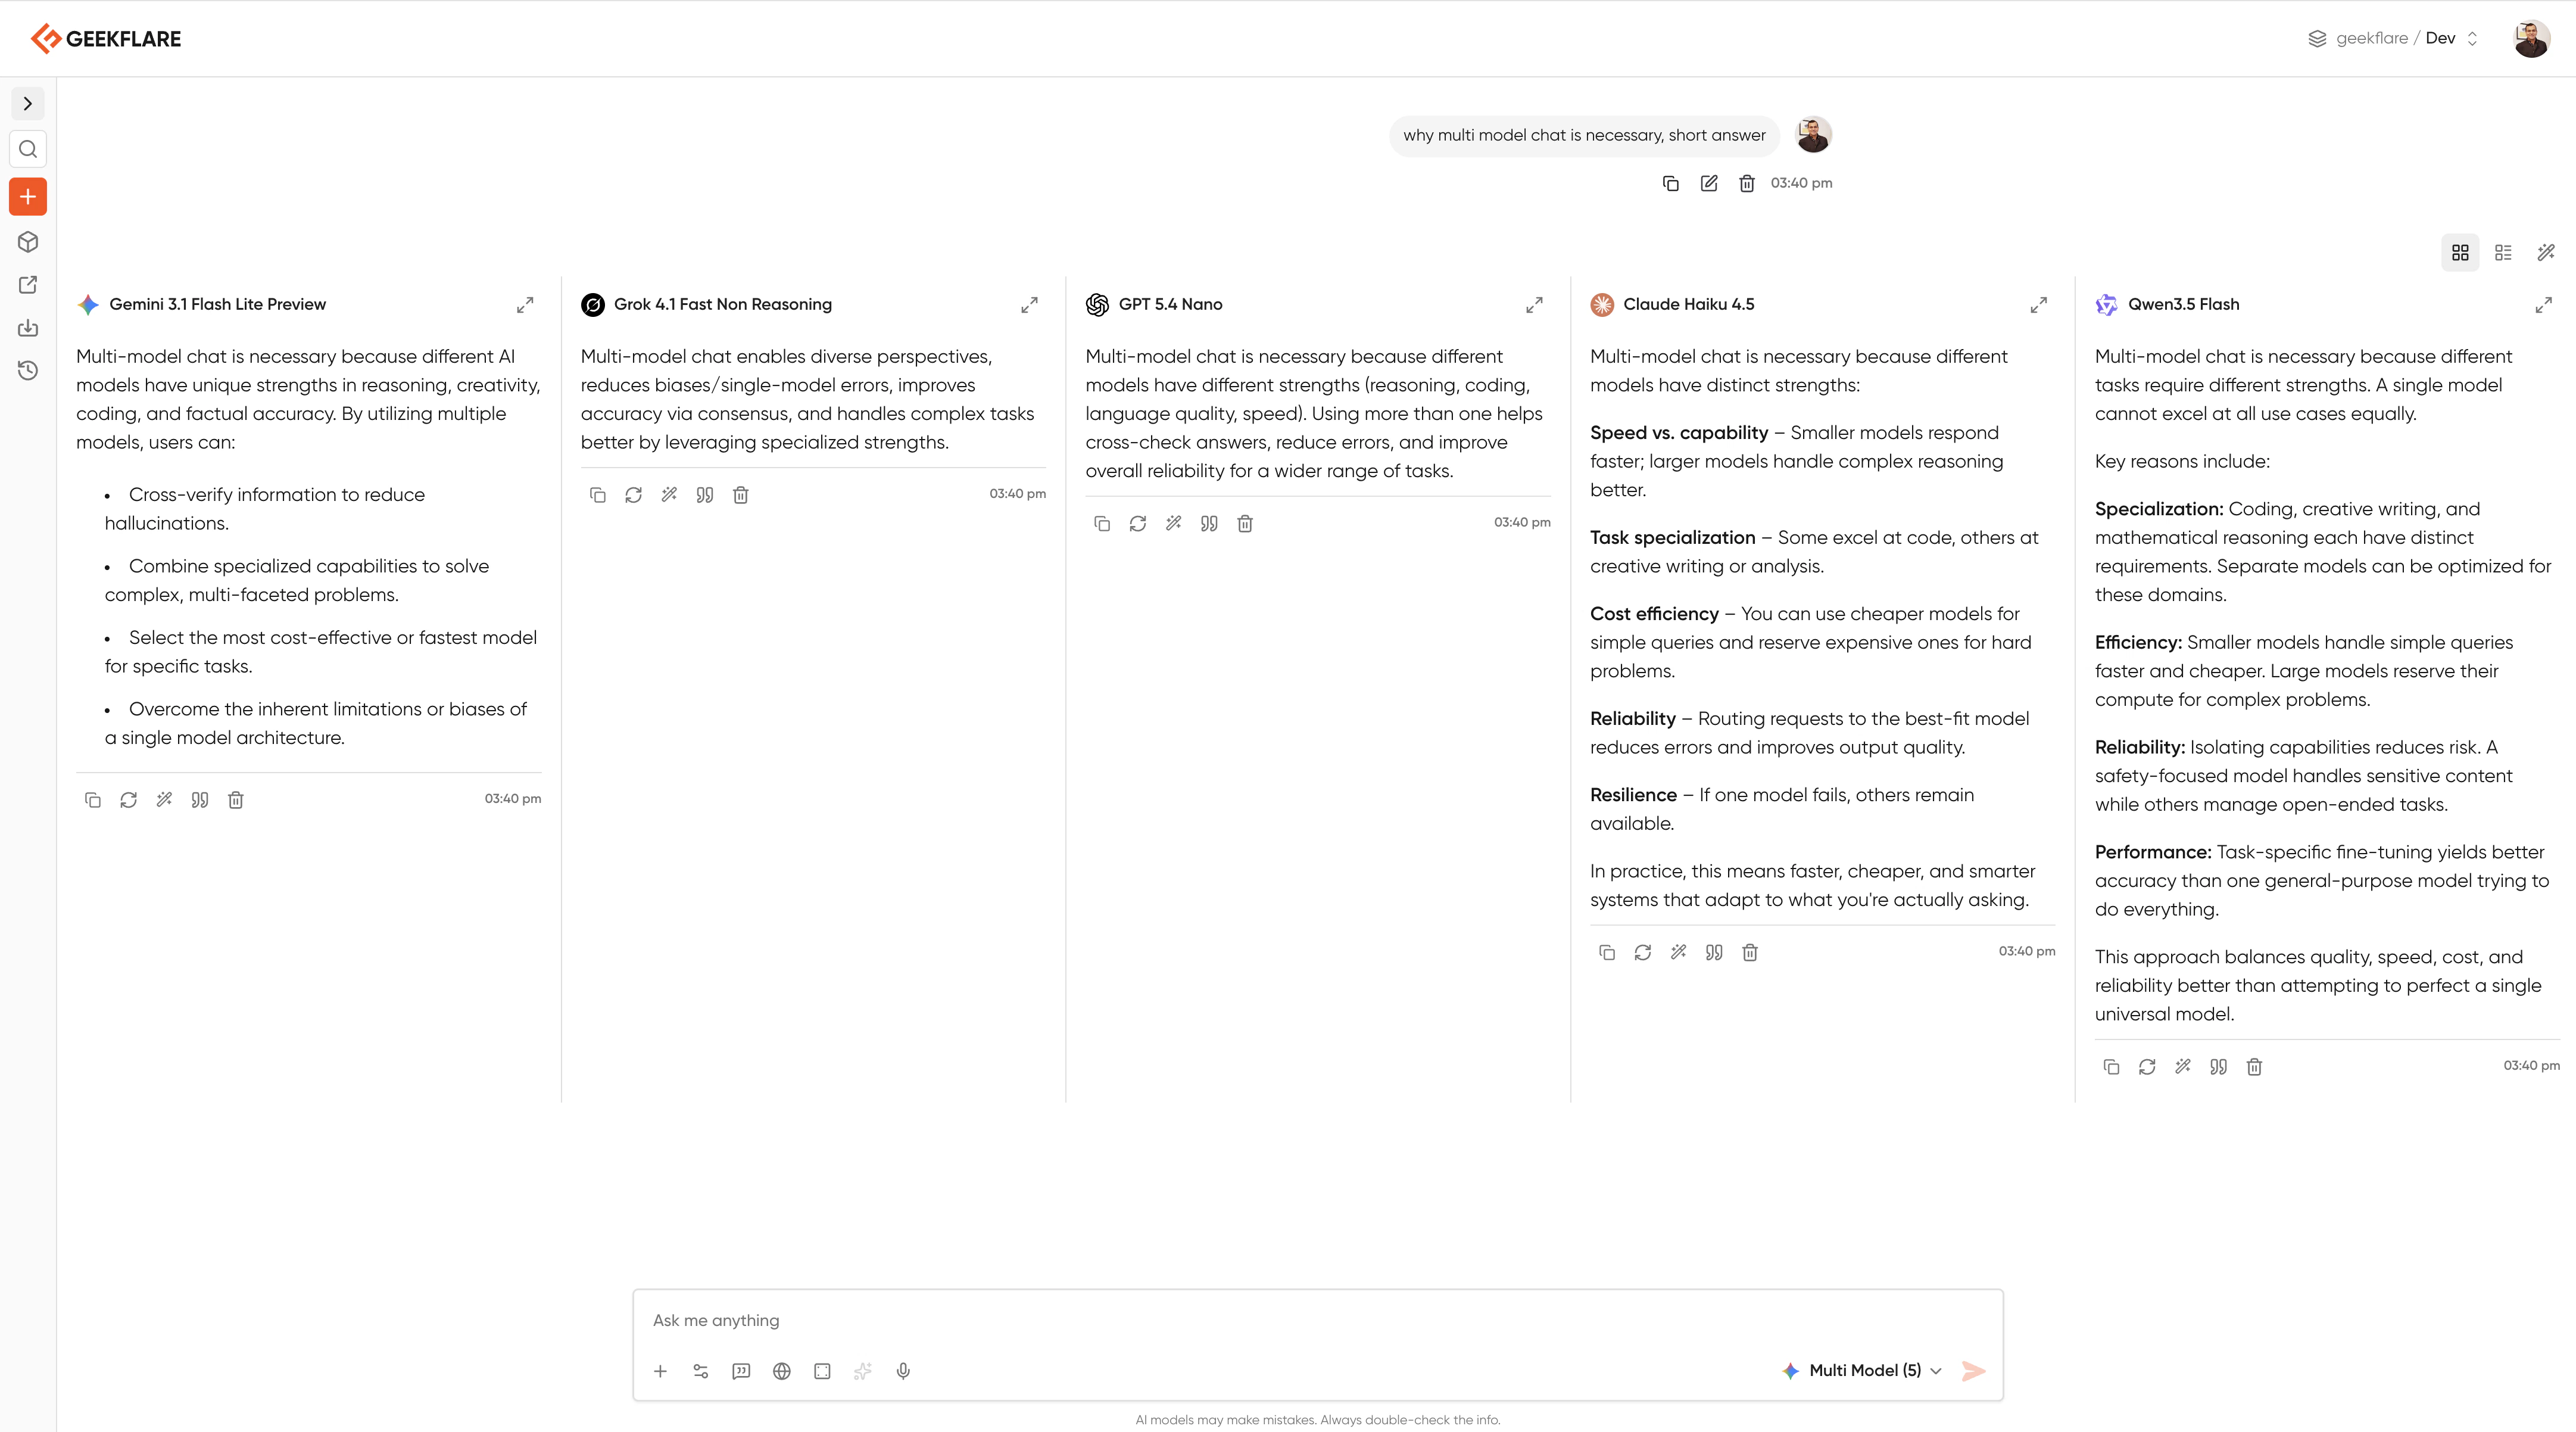
Geekflare AI supports multi model AI chat:Parallel Responses (Multi-Model Chat)
In Geekflare Chat, you can send the same prompt to up to five models simultaneously and view their outputs side-by-side. Toggle the multi-model chat, select upto 5 models from the model selector and enter your prompt.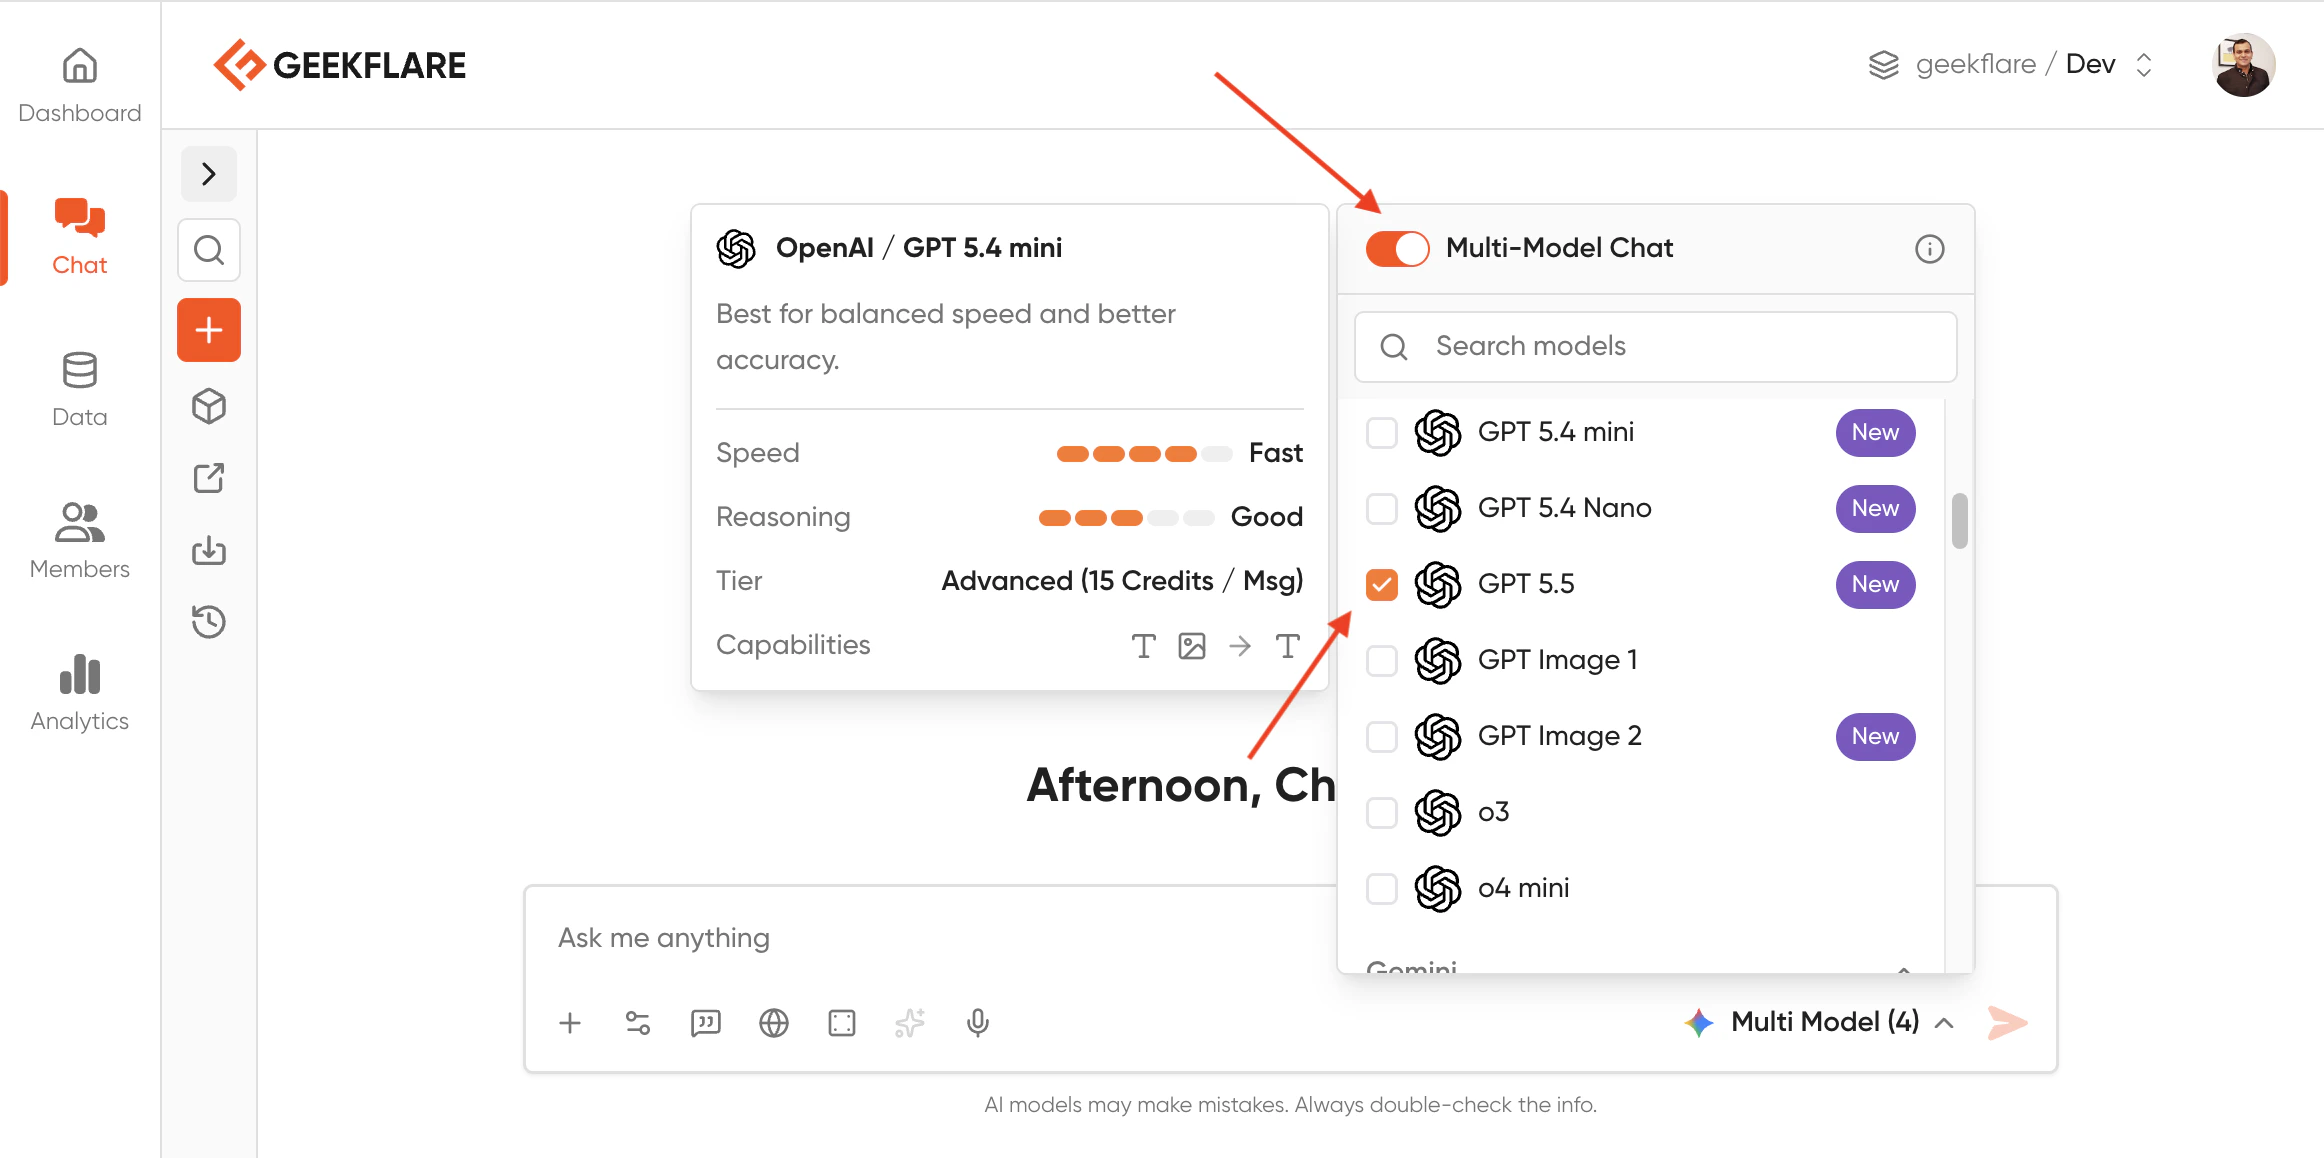
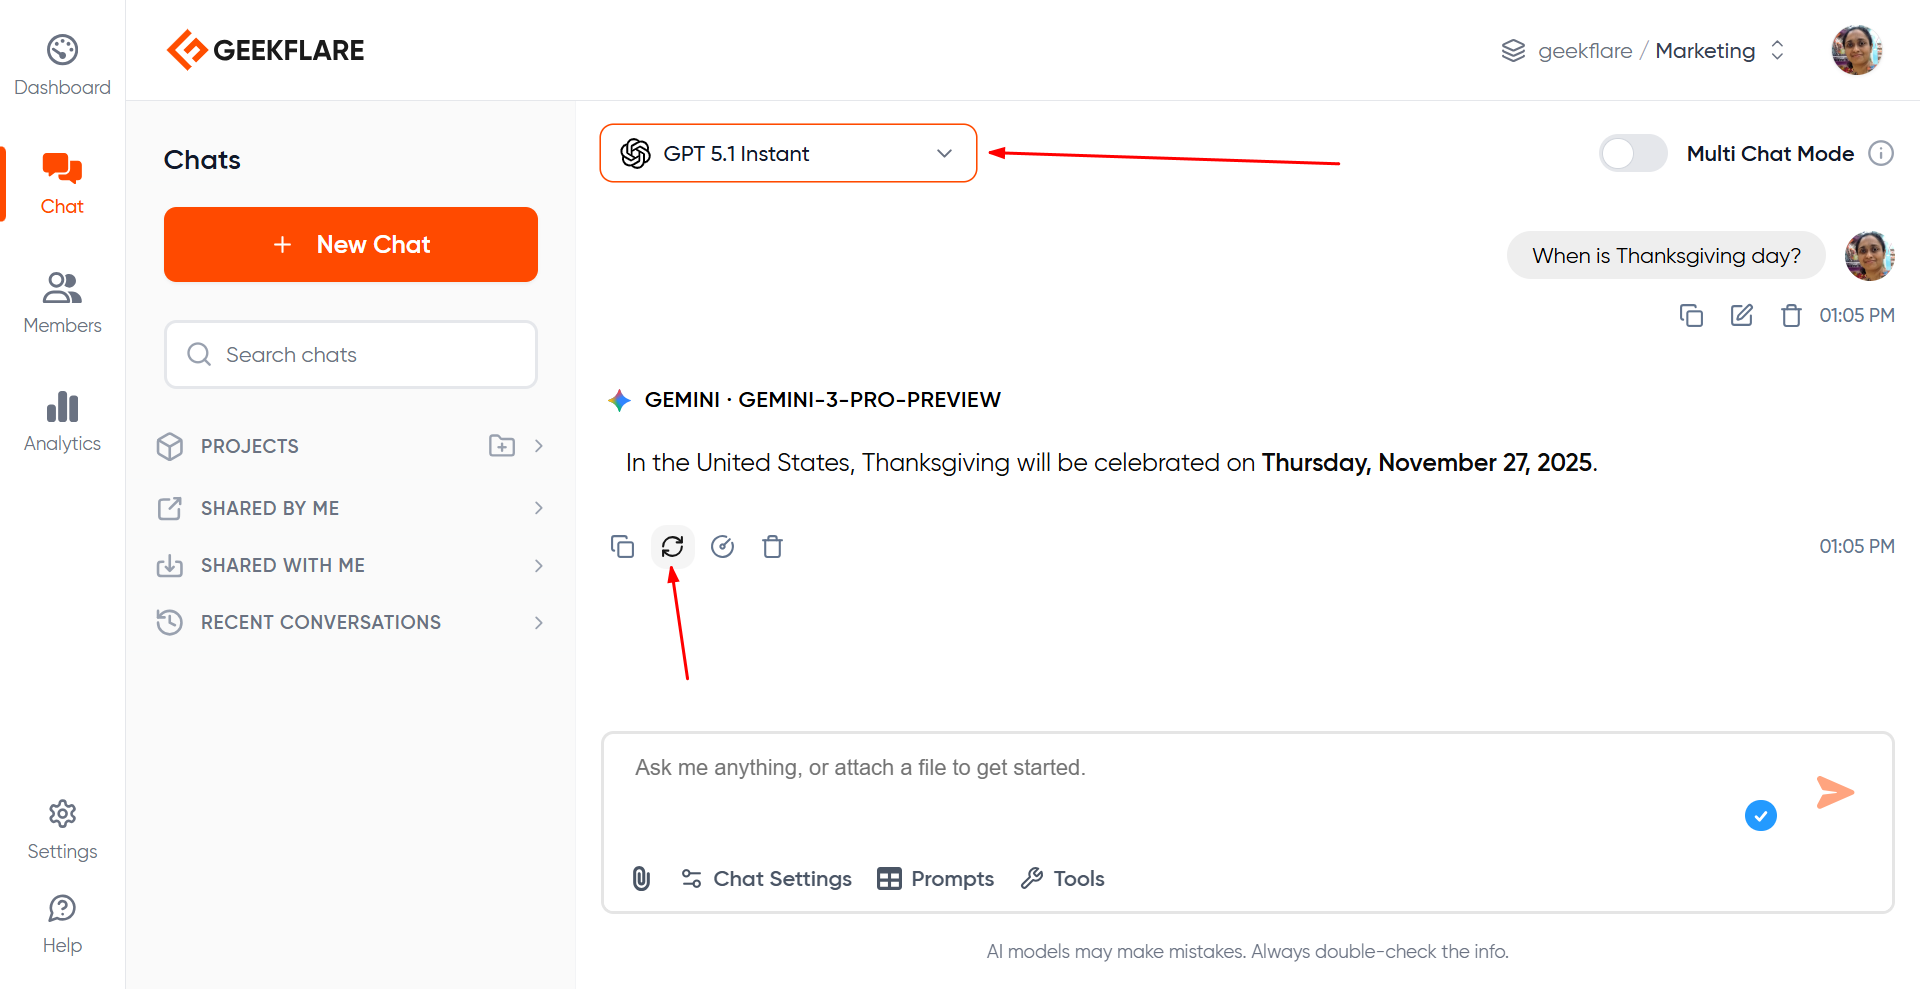
Manual Switching
You can switch the model and click the ‘regenerate’ option within the same thread to compare how models handle context differently. As shown below, I have asked Gemini a question and got a response.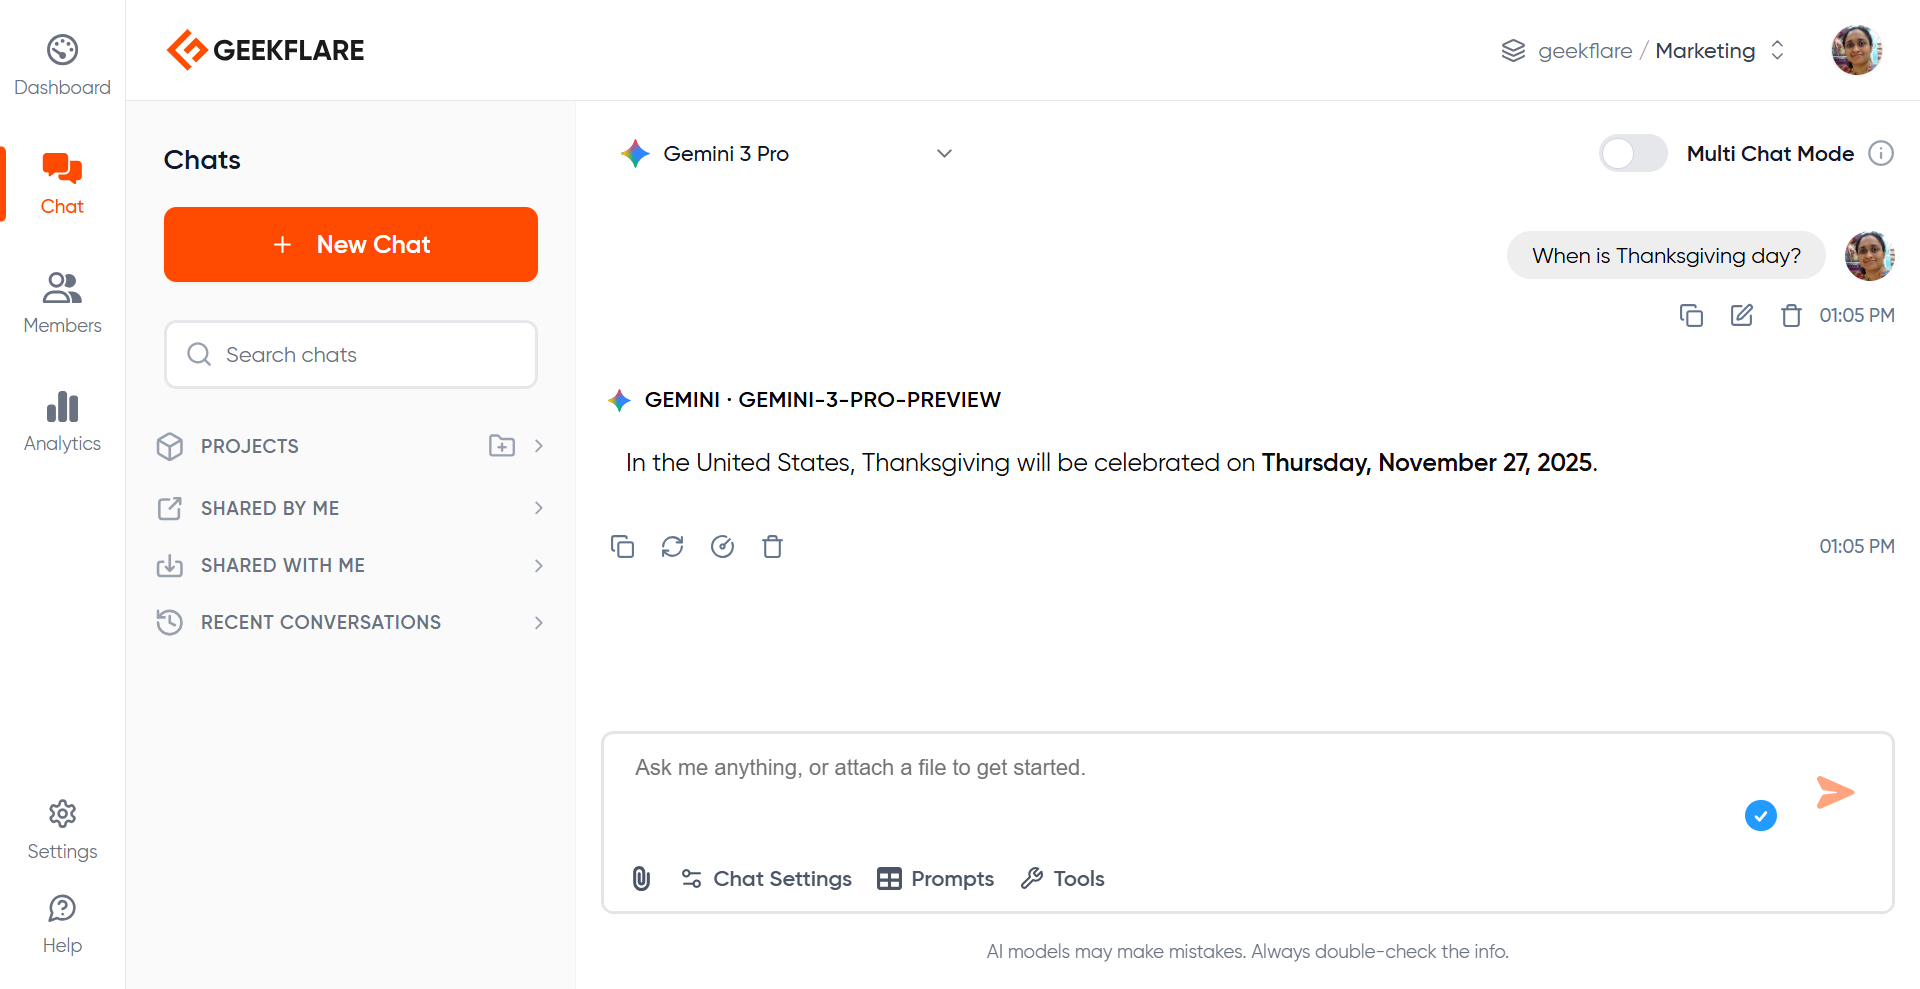

Sharing Chats
Chats can be shared in multiple ways depending on your plan. To share, click the 3 dots next to your conversation thread name and select ‘share conversation’.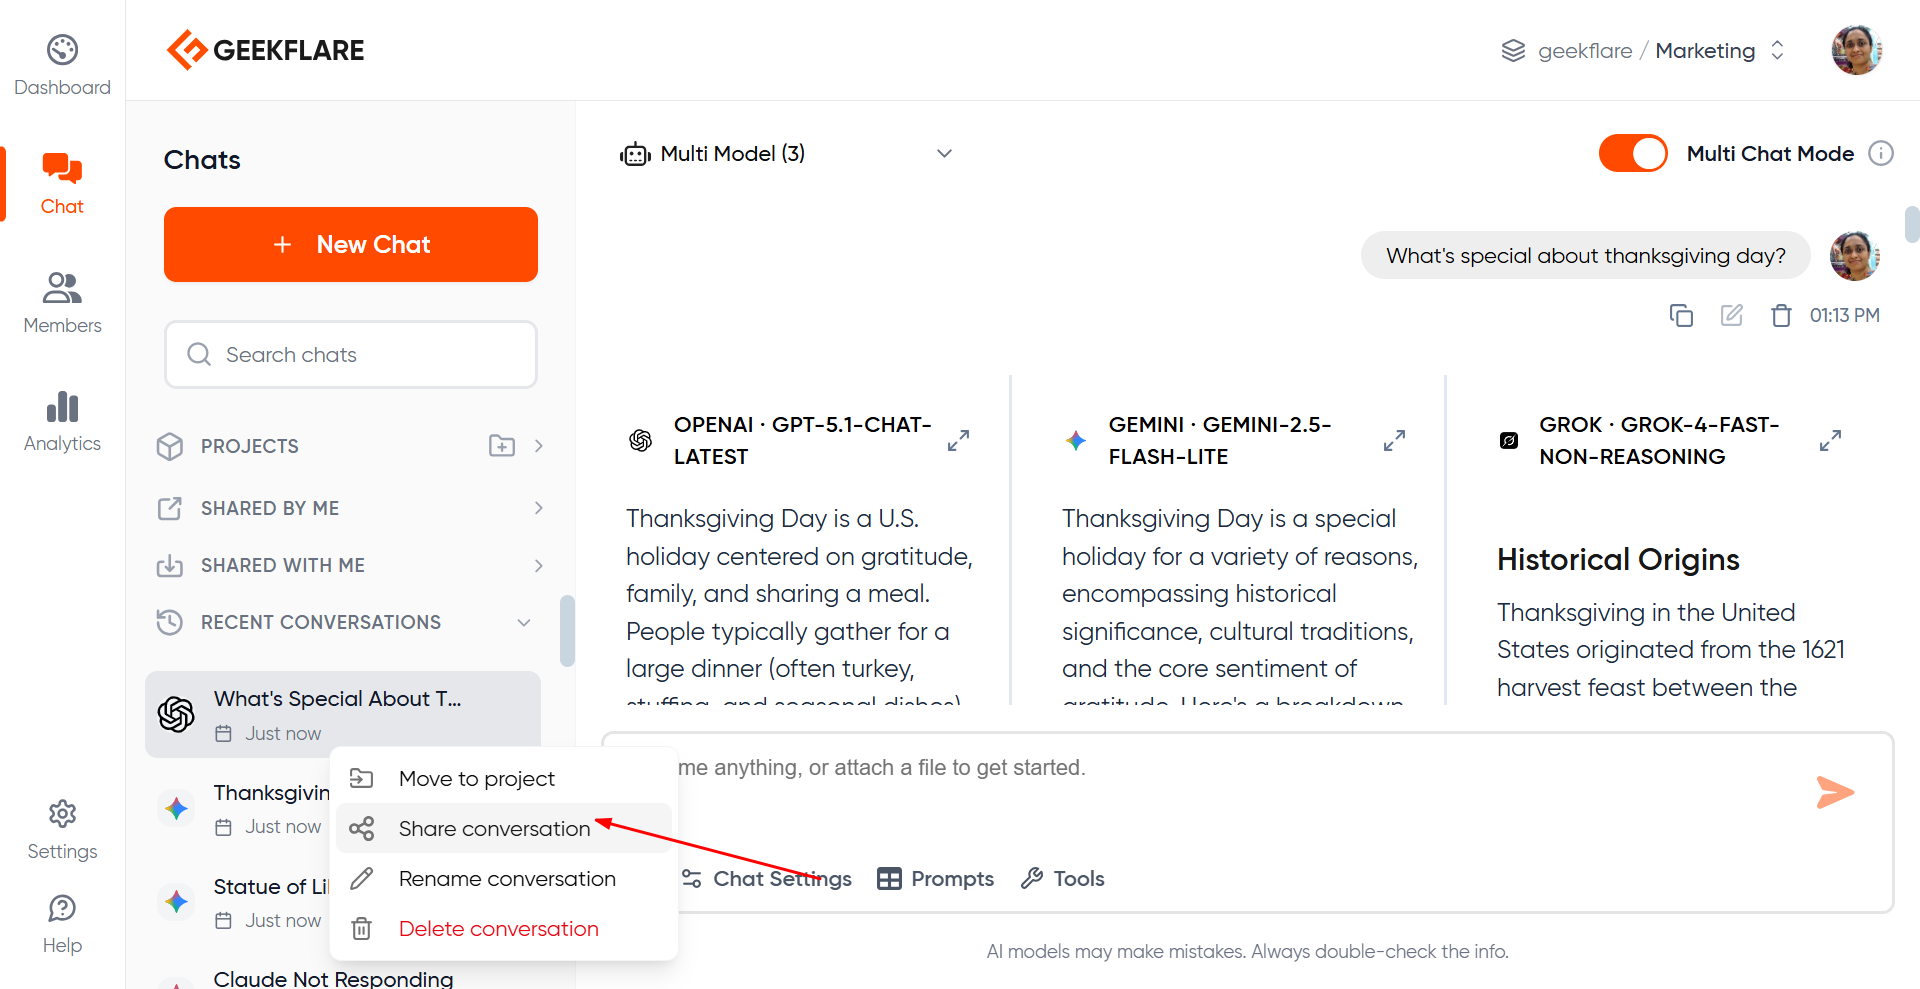

- Anyone with the link: Generate a publicly viewable link accessible to anyone. This option is available in all plans.
- Share with Organization members: Make the chat viewable by everyone in the org (Business plan and above).
- Share with Specific People: Invite specific members by entering their email address (Business plan and above).

Permissions
- All shared chats are view-only
- To continue or modify the chat, the viewer must fork it and create their own copy
- Shared chats cannot be edited directly
Creating a Publicly Shareable Chat Link
When you share a conversation by selecting a ‘anyone with the link’, you get a publicly shared link. You can choose stop sharing the thread when you wish.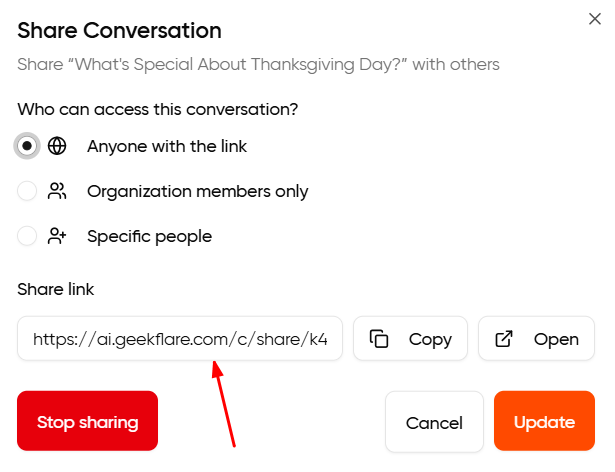
How to ‘Fork’ from a Shared Chat Link?
If you receive a shared chat thread or are invited to view a publicly shared link, open the thread and select the ‘fork’ option. Select the workspace into which you would like to fork this conversation to and continue chatting as usual.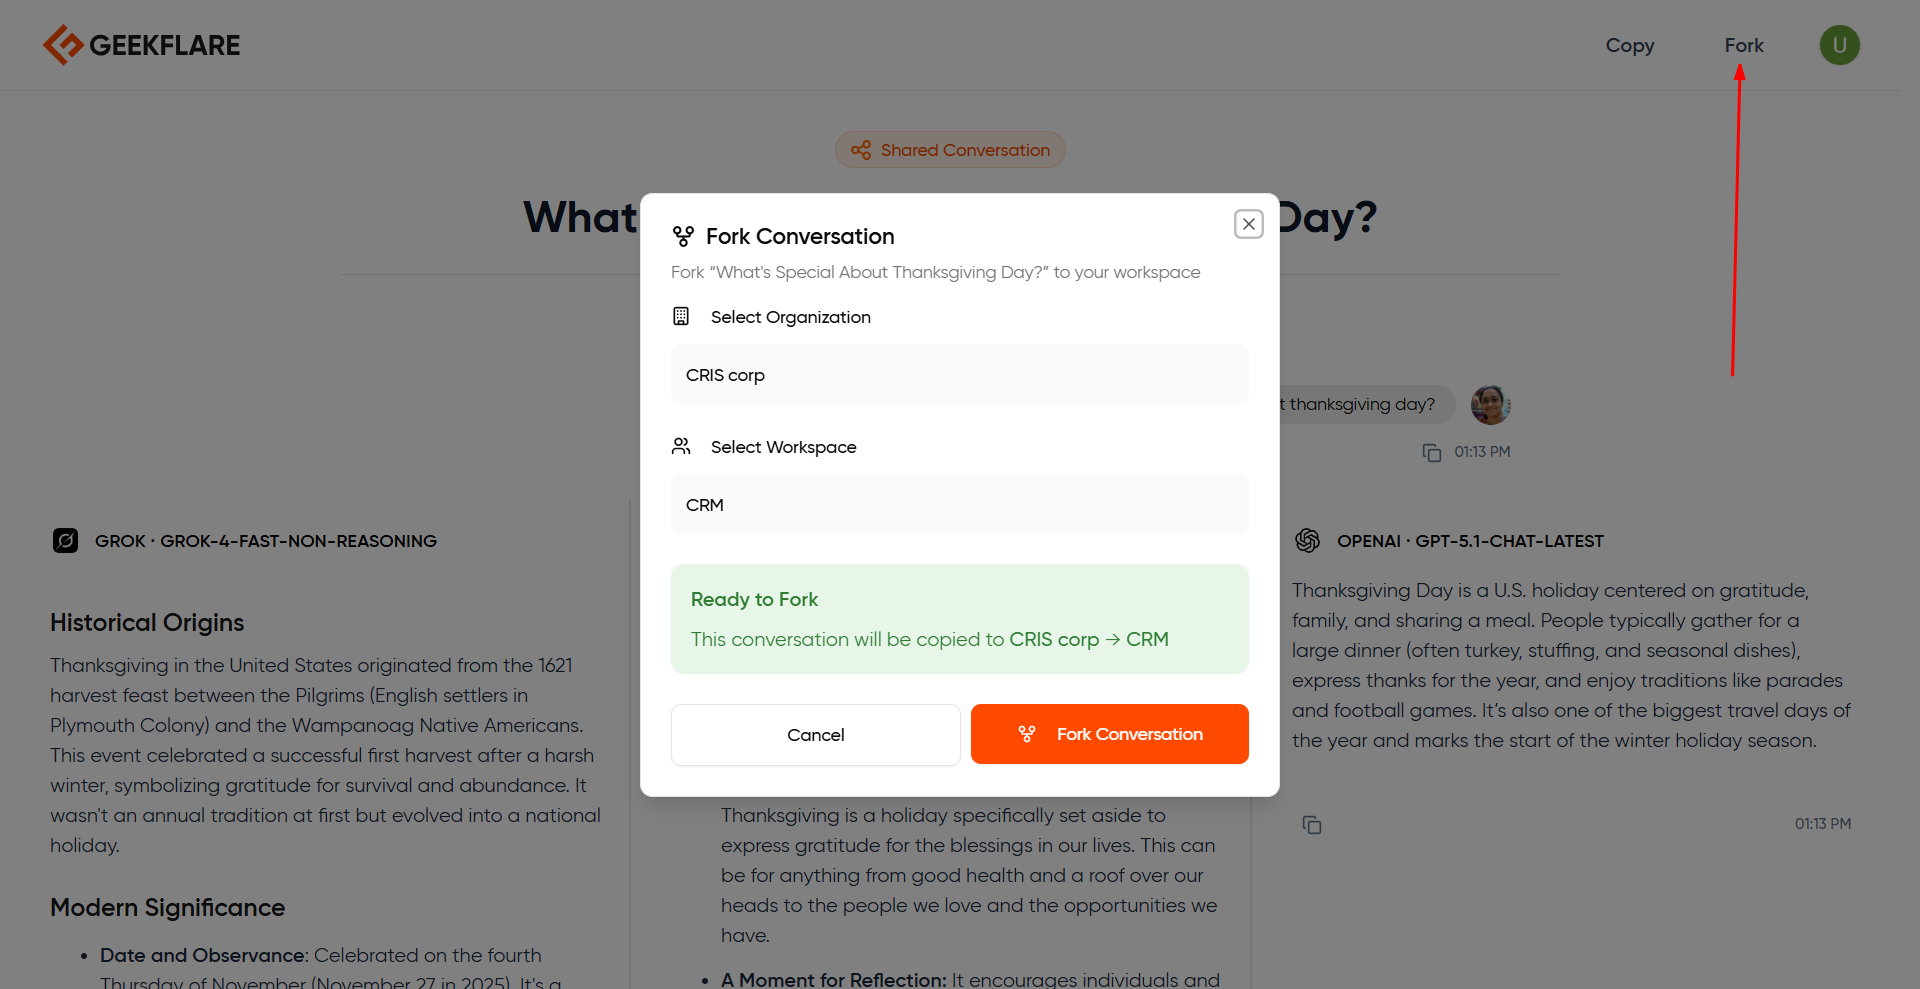
How to perform web search?
Select ‘tools’ and turn on the web search option below the prompt box. When you type in a prompt with this feature turned on, you will receive web search results in the response. Use this feature when you need recent data and don’t want to be limited by the model’s training cutoff date.

How to perform Deep Research?
Use Deep Research models offered on Geekflare AI. Currently the Deep Research models offered are: OpenAI’s o3-Deep Research, o4 mini Deep Research and Perplexity’s Sonar Deep Research. The Deep Research Settings option will be visible below the prompt box when you select a Deep Reasearch model.Deep Research with OpenAI
In the case of OpenAI models, you have the option to filter domains in your result, that is a list of domains from which you want the research to be performed.
Deep Research with Perplexity Sonar
In the case of Perplexity, you have multiple settings. Core settings: Search Mode, Disable web search, enable search classifier, reasoning effort, and whether to include images and related questions in the result. Search filters: Recency, thoroughness, user location, data filters and domain filters.

How to Create Mermaid Diagrams
Type your prompt and ask the model to output a Mermaid diagram code block. Example:
